
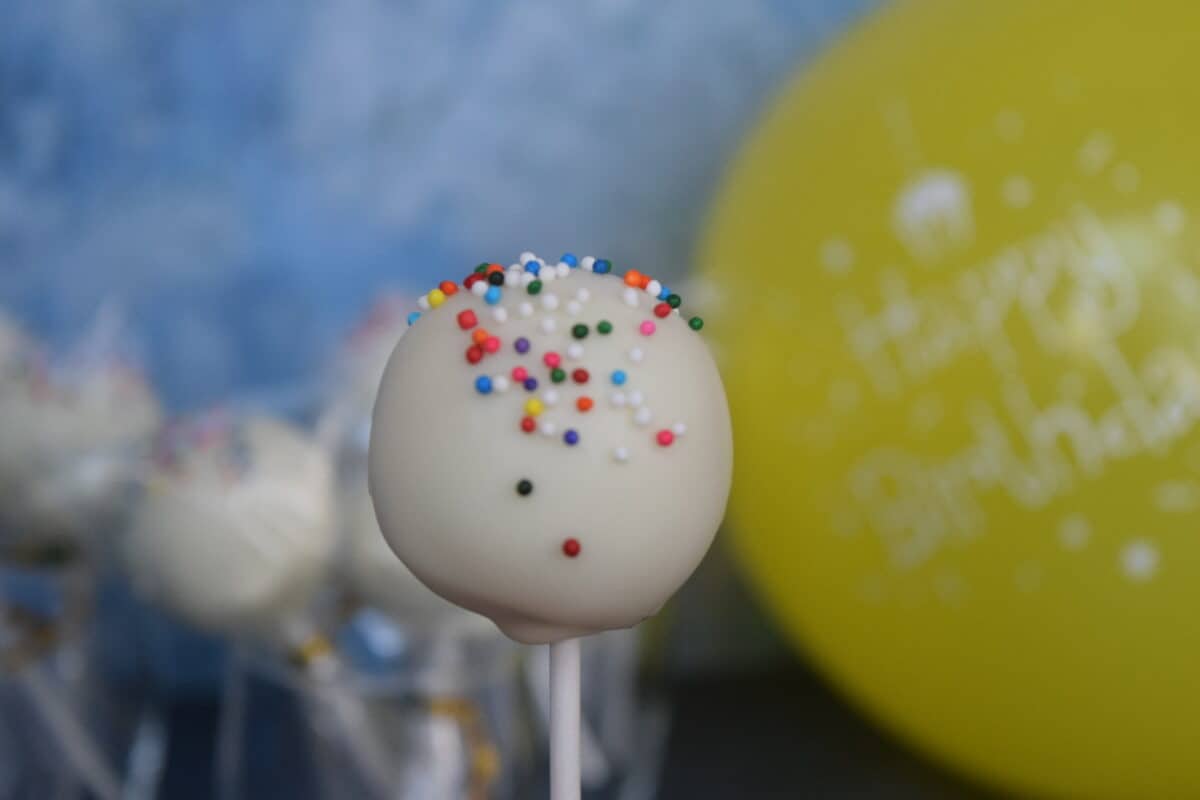
Birthday Cake Pops are fun and delicious bite-sized treats that will make your celebration so special. We combine baked cake with rainbow chip frosting to create the perfect recipe for that birthday cake flavor. Then, we roll those into perfectly smooth cake balls and dip them in melted chocolate for a beautiful candy shell.
This post contains affiliate links. As an Amazon associate I may earn from qualifying purchases.
The Best Tasting Cake Batter and Frosting for Birthday Cake Pops
First, we need to make the cake balls. For those, we need baked cake and frosting. Nothing quite says "birthday cake" flavor as confetti cake with rainbow chip frosting mixed in. Follow the packaged directions for your favorite boxed cake mix. Pour the batter into a baking dish lined with parchment paper for easy removal and to prevent browning on the underside of the cake.
If you want to get ahead and bake the cake the day before, you can definitely do that and save the cake in an airtight container in the fridge.
For the candy shell, I like to use ghirardelli's chocolate melting wafers. This brand makes all the difference in achieving a smooth shell. Also, because these candy melts soften so easily, it takes less time to heat and less stirring.
The Simple Ingredients For Cake Pops
Satisfy that sweet tooth with this super easy recipe. You only need 3 items:
- prepared cake- any boxed cake can be used for this recipe.
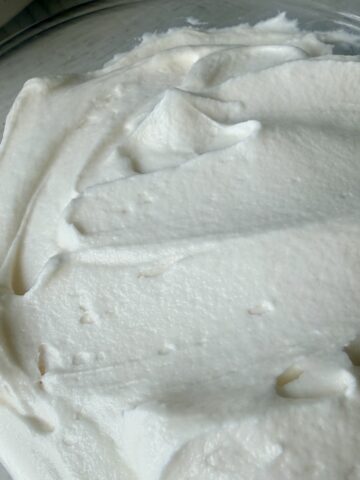
- jarred frosting- for the best results and consistency, I like jarred frosting for its texture. The best flavors for a copycat recipe would be vanilla frosting, cream cheese frosting, but my favorite is rainbow chip.
- candy melts- I have two tried-and-true brands of candy melts: Ghirardelli and Merkens.
Optional Helpers:
- oil based food coloring- if you are going for a colored shell, make sure to get oil based color. Water based color will not mix with chocolate.
- vegetable oil- depending on how early your chocolate melts, a little neutral flavored vegetable oil can help the melting process. Just a little bit at a time and stir it in well during the chocolate melting process.
How to Make Perfectly Smooth Cake Pops

So, the basics of cake pop making is just combining crumbled baked cake with frosting in a large bowl, rolling them into balls, and then dipping in candy melts so they have an adorable candy shell.
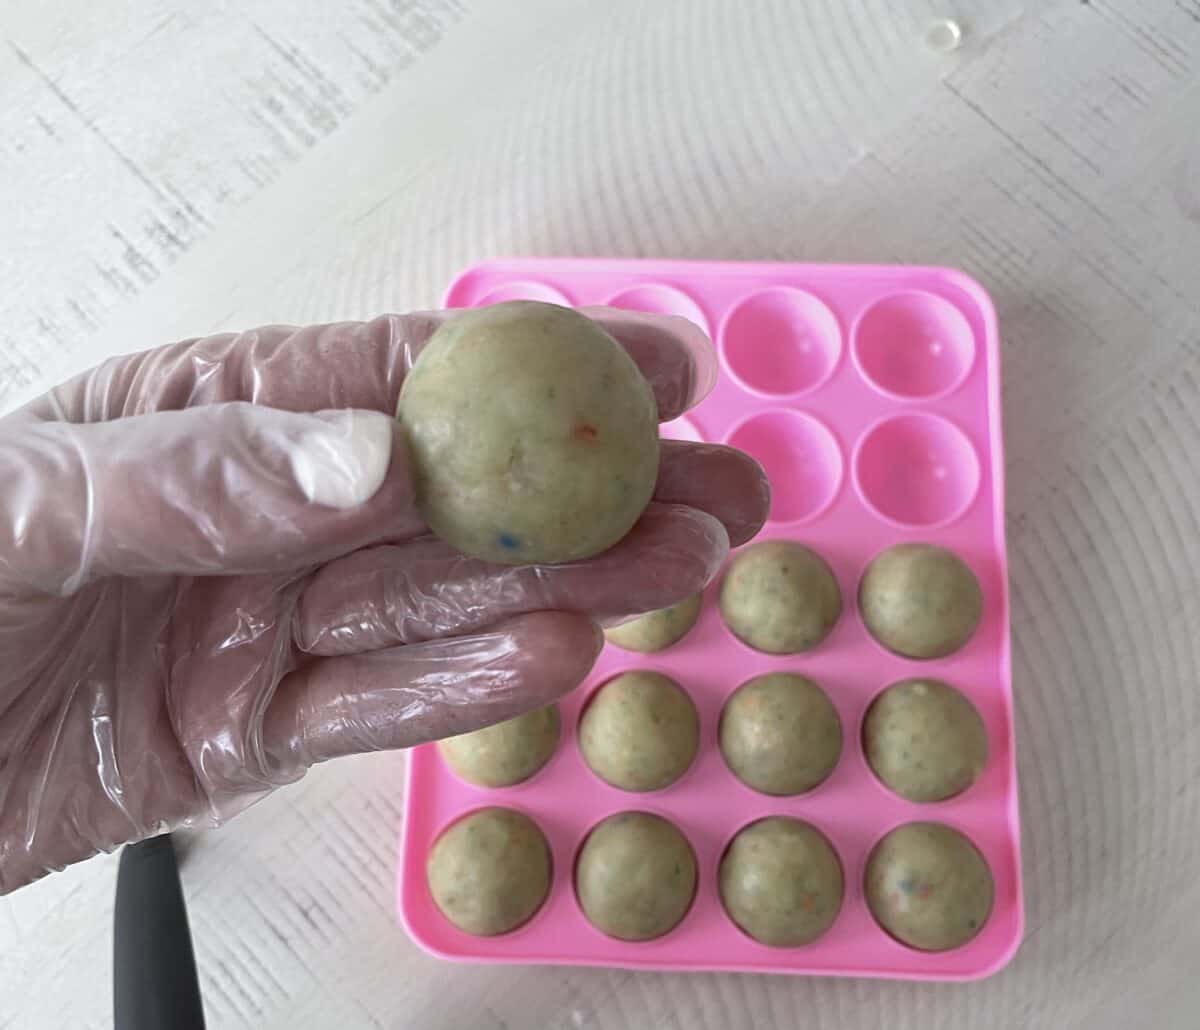
- Wear gloves: wearing gloves really helps to smooth out the cake ball.
- Cake pop consistency: when making the cake and frosting mixture, you're looking for a play-doh like constancy. It should be easy to shape and not so wet that its sticky.
- Temperature of cake and chocolate: the cake pops need to be cool and the candy melts need to be perfectly melted and smooth. You'll see how this goes when you make them, but at some point during the dipping process, the melted candy coating will cool off so much that it won't glide easily over the cake pop and it will harden too quickly. Toss the candy melt mixture back in the microwave for a few seconds to keep it warm.
Trouble Shooting Cake Pop Problems
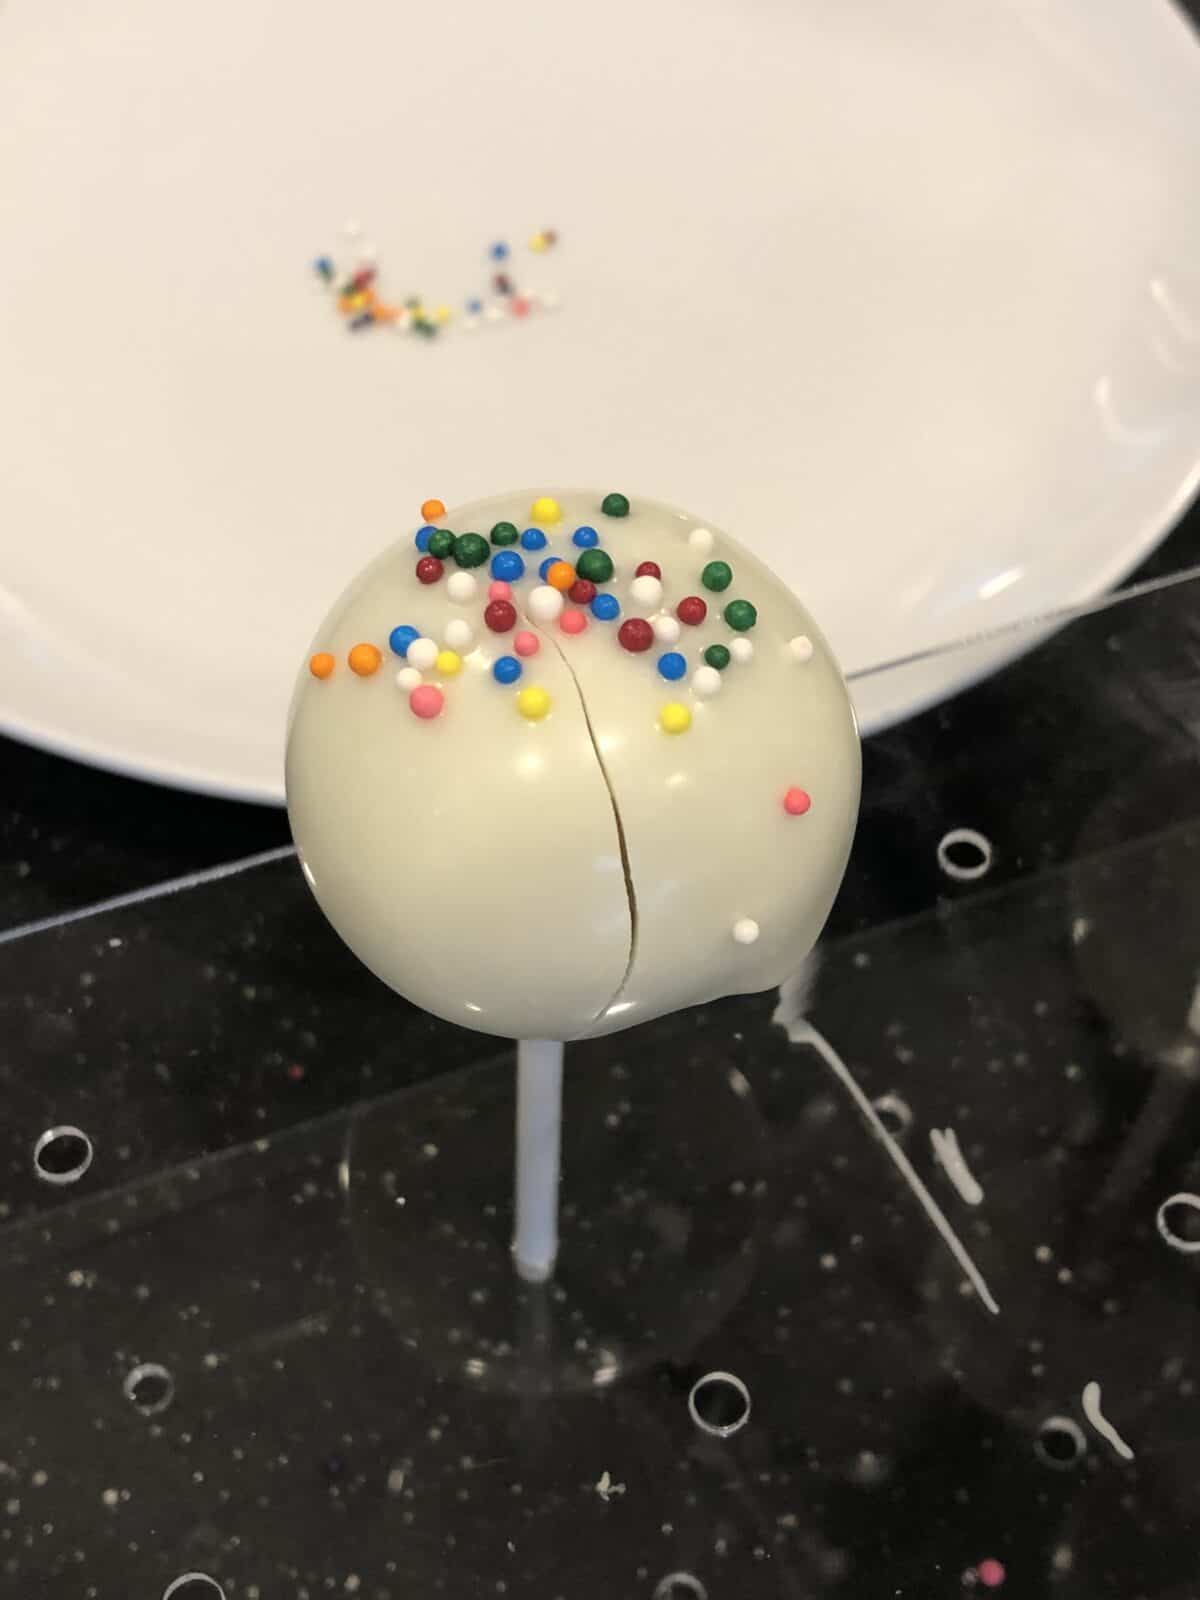
A word of caution... If the cake pop is too cold the chocolate shell may crack as it sets. The most challenging part of making cake pops is maintaining the right temperature balance so that the candy shell is smooth, but does not crack. See picture below.
The Candy Coating
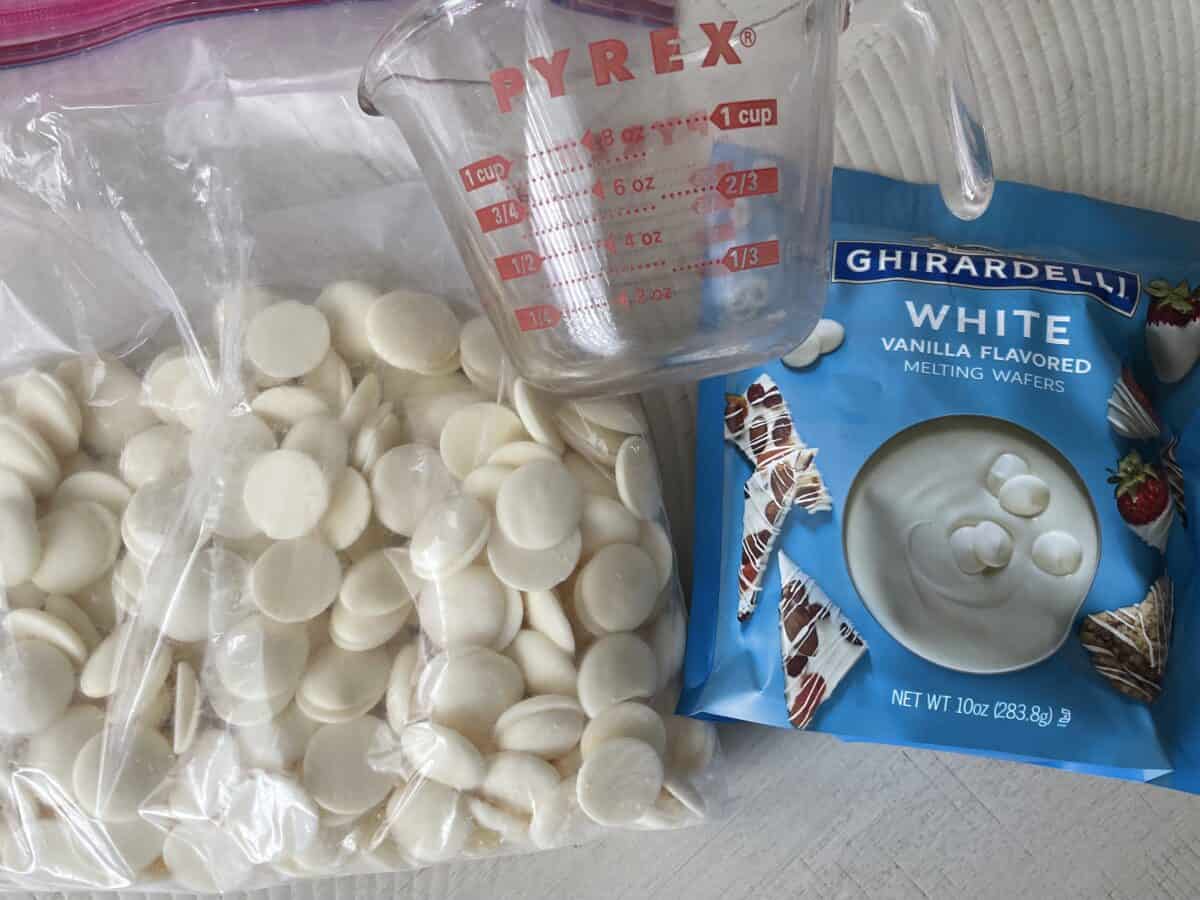
I have two tried-and-true brands of candy melts: Ghirardelli and Merkens. I made the mistake of using Candy Melts once and it was a disaster. The chocolate needs to melt easily. Both the Ghirardelli and Merkens are so dependable. The Candy Melts brand do not melt completely, have a strange waxy coating, and I don't like the taste.
Last words about the candy coating... If the chocolate wafers over heat, the sugar can burn and seize up. If/when this happens, you'll find a lump or pile of burnt sugar mess in your bowl, cup, pot, whatever. It happens. Don't beat yourself up about it. Just start over and move on. Using less heat and everything will be fine.
Cake Pop Supplies
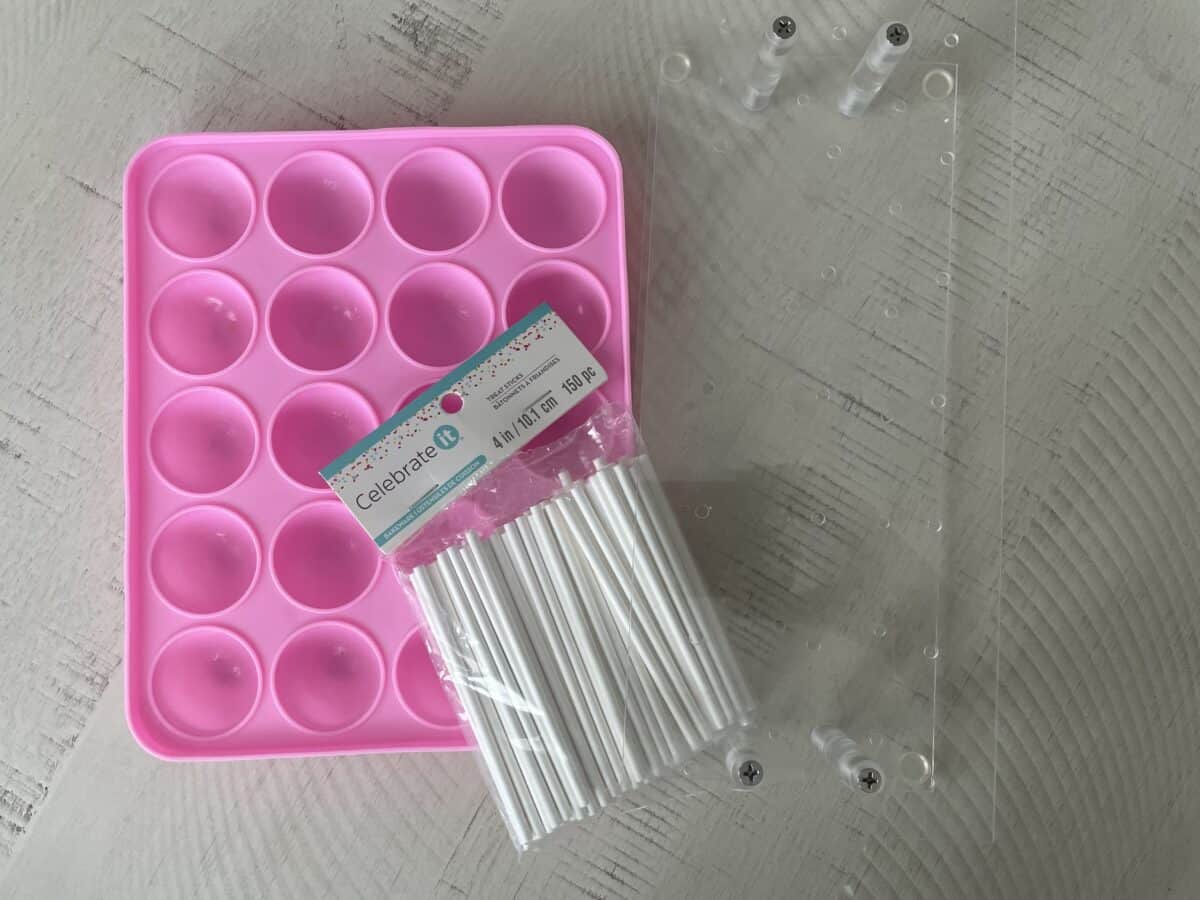
Cake Pop Sticks and Bags- any lollipop sticks will work. 4" sticks are the most common, but 6" sticks can also be used. If you are passing out your homemade cake pops as party favors, these are a must!
Cake pop mold - this is the best way to make sure all of my cake pops are the same size
Small Cookie Scoop if you want to use this making consistent sized cake balls
How to Make Birthday Cake Pops
If you want these to be the perfect treat, it all starts with the shape and consistency of the cake pop ball. Start here and follow along. After that, you will move on to the chocolate shell.
- Bake the confetti cake according to package directions. Let the cake cool and sit at room temperature to cool completely or bake it the day before and chill overnight in the refrigerator.
- Transfer the baked cake into a large mixing bowl or the bowl of a stand mixer. Use your hands or the paddle attachment on the mixer to create fine cake crumbs.
- Add half of the frosting from a store-bought jar of frosting to the crumbled cake and mix it in with gloved hands or the paddle attachment. Be careful not to add too much frosting at first. Gradually adding it in will help ensure your dough is not too wet.
- Using a small cookie scoop or a heaping tablespoon, scoop some of the batter into the palm of your hand and gently roll that into a smooth ball.
- Set that aside onto a baking sheet or cake pop mold while you continue to roll out the rest of the cake pop balls.
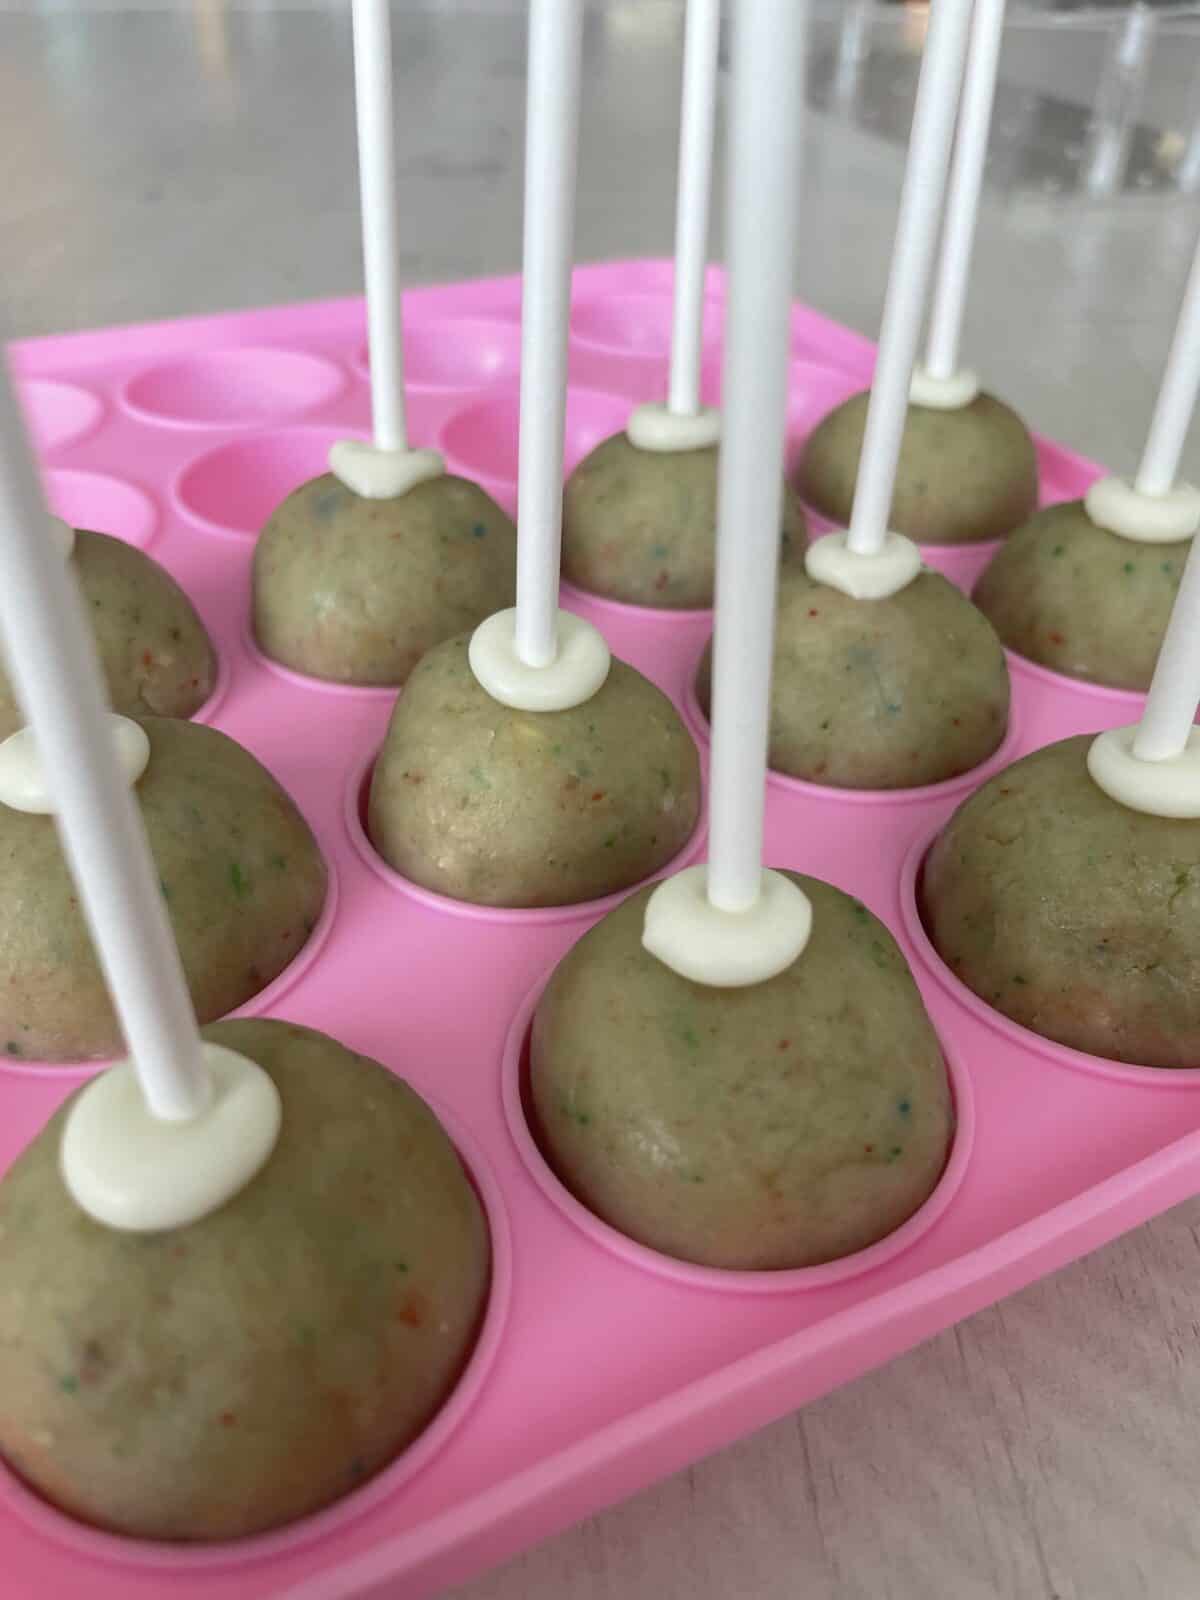
- After you have rolled out all the cake pop balls, in a small bowl melt a small amount of the chocolate you will use for the shell.
- Dip the lollipop stick in the melted chocolate and insert that into the cake pop ball.
- After all of the cake pops have sticks, place them in the refrigerator so they can set up.
How to Dip the Cake Pops
You've make the perfect cake pop, now we need to dip them in the chocolate shell.
- Remove the cake pops from the refrigerator and let them come to room temperature while you melt the chocolate.
- Melt the chocolate in a microwave in 30-60 second intervals. Stir the chocolate in between.
- Once the chocolate is completely smooth, dip your cake pop and gently tap the sides of the stick to remove the excess chocolate.
- Place the cake pop in a cake pop holder while the shell hardens.
- Continue on until all of your cake pops have been dipped.
- Wrap the cake pops in individual wrappers if desired and place back in the refrigerator until party time.
How to Display Your Cake Pops
Now that you've made adorable birthday cake pops, lets get them on display.
For birthday parties, you can use a styrofoam block to hold them up on your party table.
You can also purchase a cake pop display and decorate it in the theme of your party.
Changing The Candy Coating For Other Occasions
This recipe is so tasty that you may want to make them for other occasions as well.
- Baby Showers: swap the white shell for pink candy melts and blue candy melts. Make sure to combine with white candy melts for the soft pastel look.
- Valenties Day: use this heart shaped mold from Wilton and red or pink melts.
More sweets...
Birthday Cake Pop Recipe
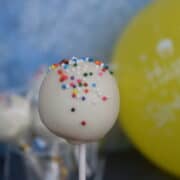
Birthday Cake Pops
Equipment
- cake pop mold
- cake pop sticks
- a deep and tall cup glass measuring cups are great
- cake pop holder
Ingredients
- 1 cake baked to package directions
- ⅔ cup frosting
- 2 bags candy coating Ghirardelli or Merkens
- nonpareil sprinkles
Instructions
- Bake cake according to package directions. Let cool completely or overnight if possible.
- Place cooled cake into the bowl of a stand mixer. Use the paddle attachment and turn on to the low setting. Let the mixer run until the cake is completely crumbled with no more big pieces.
- Add a half cup of frosting and mix on low again. You may need more frosting depending on the humidity in the air or dryness of the cake. Start with a ½ cup and add more if needed to evenly incorporate all of the cake. Check the consistency of the cake and frosting mixture. It should come together completely without leaving any small dry crumbs in the bowl. Almost a play-doh like consistnecy.
- Chill the cake pop mixture for 30 minutes or overnight. This will make the cake pop balls easier to shape.
Forming Cake pops
- Using a tablespoon or cookie scoop, portion out some cake into your palm and give it a few squeezes. Roll the mixture into a ball and make sure it is smooth all the way around. Place the ball in a cake mold or on a sheet pan lined with parchment. Continue until all of the cake mixture is rolled into balls.
- In a microwave safe dish, melt about a ⅓ of a cup of candy wafers. Follow the package directions for melting. Heat in 30 second intervals and stir well after each 30 seconds until the chocolates are smooth.
- Dip ½" of a cake pop stick into the melted chocolate and poke into the cake ball. Continure until all of the cake pops have sticks.
- Chill the cake balls in to fridge for 15-20 minutes.
- After cake pops have set, bring them back out of the fridge for dipping. Melt about a 1 ½ cups of candy wafers in a microwave safe measuring cup, 30 seconds at a time and stirring in between. Once the chocolate has melted evenly and you have a smooth mixture, you are ready to dip the pops.
- Tilt the measuring cup with the chocolate coating on an angle and dip a cake pop, rotating through the coating until it is evenly covered. Use the side of the measuring cup to tap the cake pop stick against until the excess coating has dripped off. Top the cake pop with sprinkles.
- Place cake pop in holder while the shell hardens completely.
- Cover cake pops in small cake pop bags and store in the refridgerator until it's time to eat them.
Notes
Nutrition
Why I Make These Cake Pops
I started making cake pops because I never see gluten free cake pops anywhere and my son Jack always wants a cake pop if they're around. The other day at the grocery store, I saw a box of gluten free Funfetti cake mix and it was like a calling. I had to have them. These little cuties are just like the Starbucks birthday cake pops but even better!
Did you make this recipe? Tag me on Instagram @fancy_apron 🙂 or leave a comment below.
Leave a Reply